As you may have read in my previous post, I discussed why I believe the original Creality Ender 3 is still relevant in 2020 and worth picking up, even over the new Pro or V2 versions. To start of this project, I had to decide what upgrades I would do and in what order. Obviously, printed upgrades are the easiest, quickest and least expensive but those can be done at any time. My first upgrade would have to be something that solved many issues at once and that is the main board. The stock board works perfectly fine but there are easy to install, upgraded boards that provide higher quality prints, quieter operation and more options over the stock board. This is where the BIGTREETECH SKR Mini E3 V2.0 board comes into play. In my opinion, it is the best board available for the Ender 3. The build quality is great, it is priced right, readily available and provides upgradability.

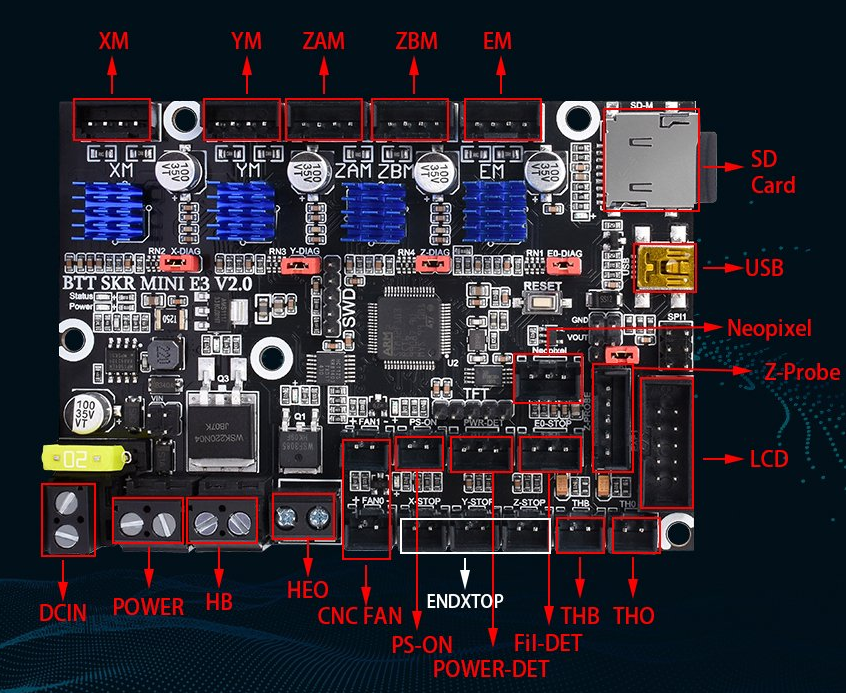
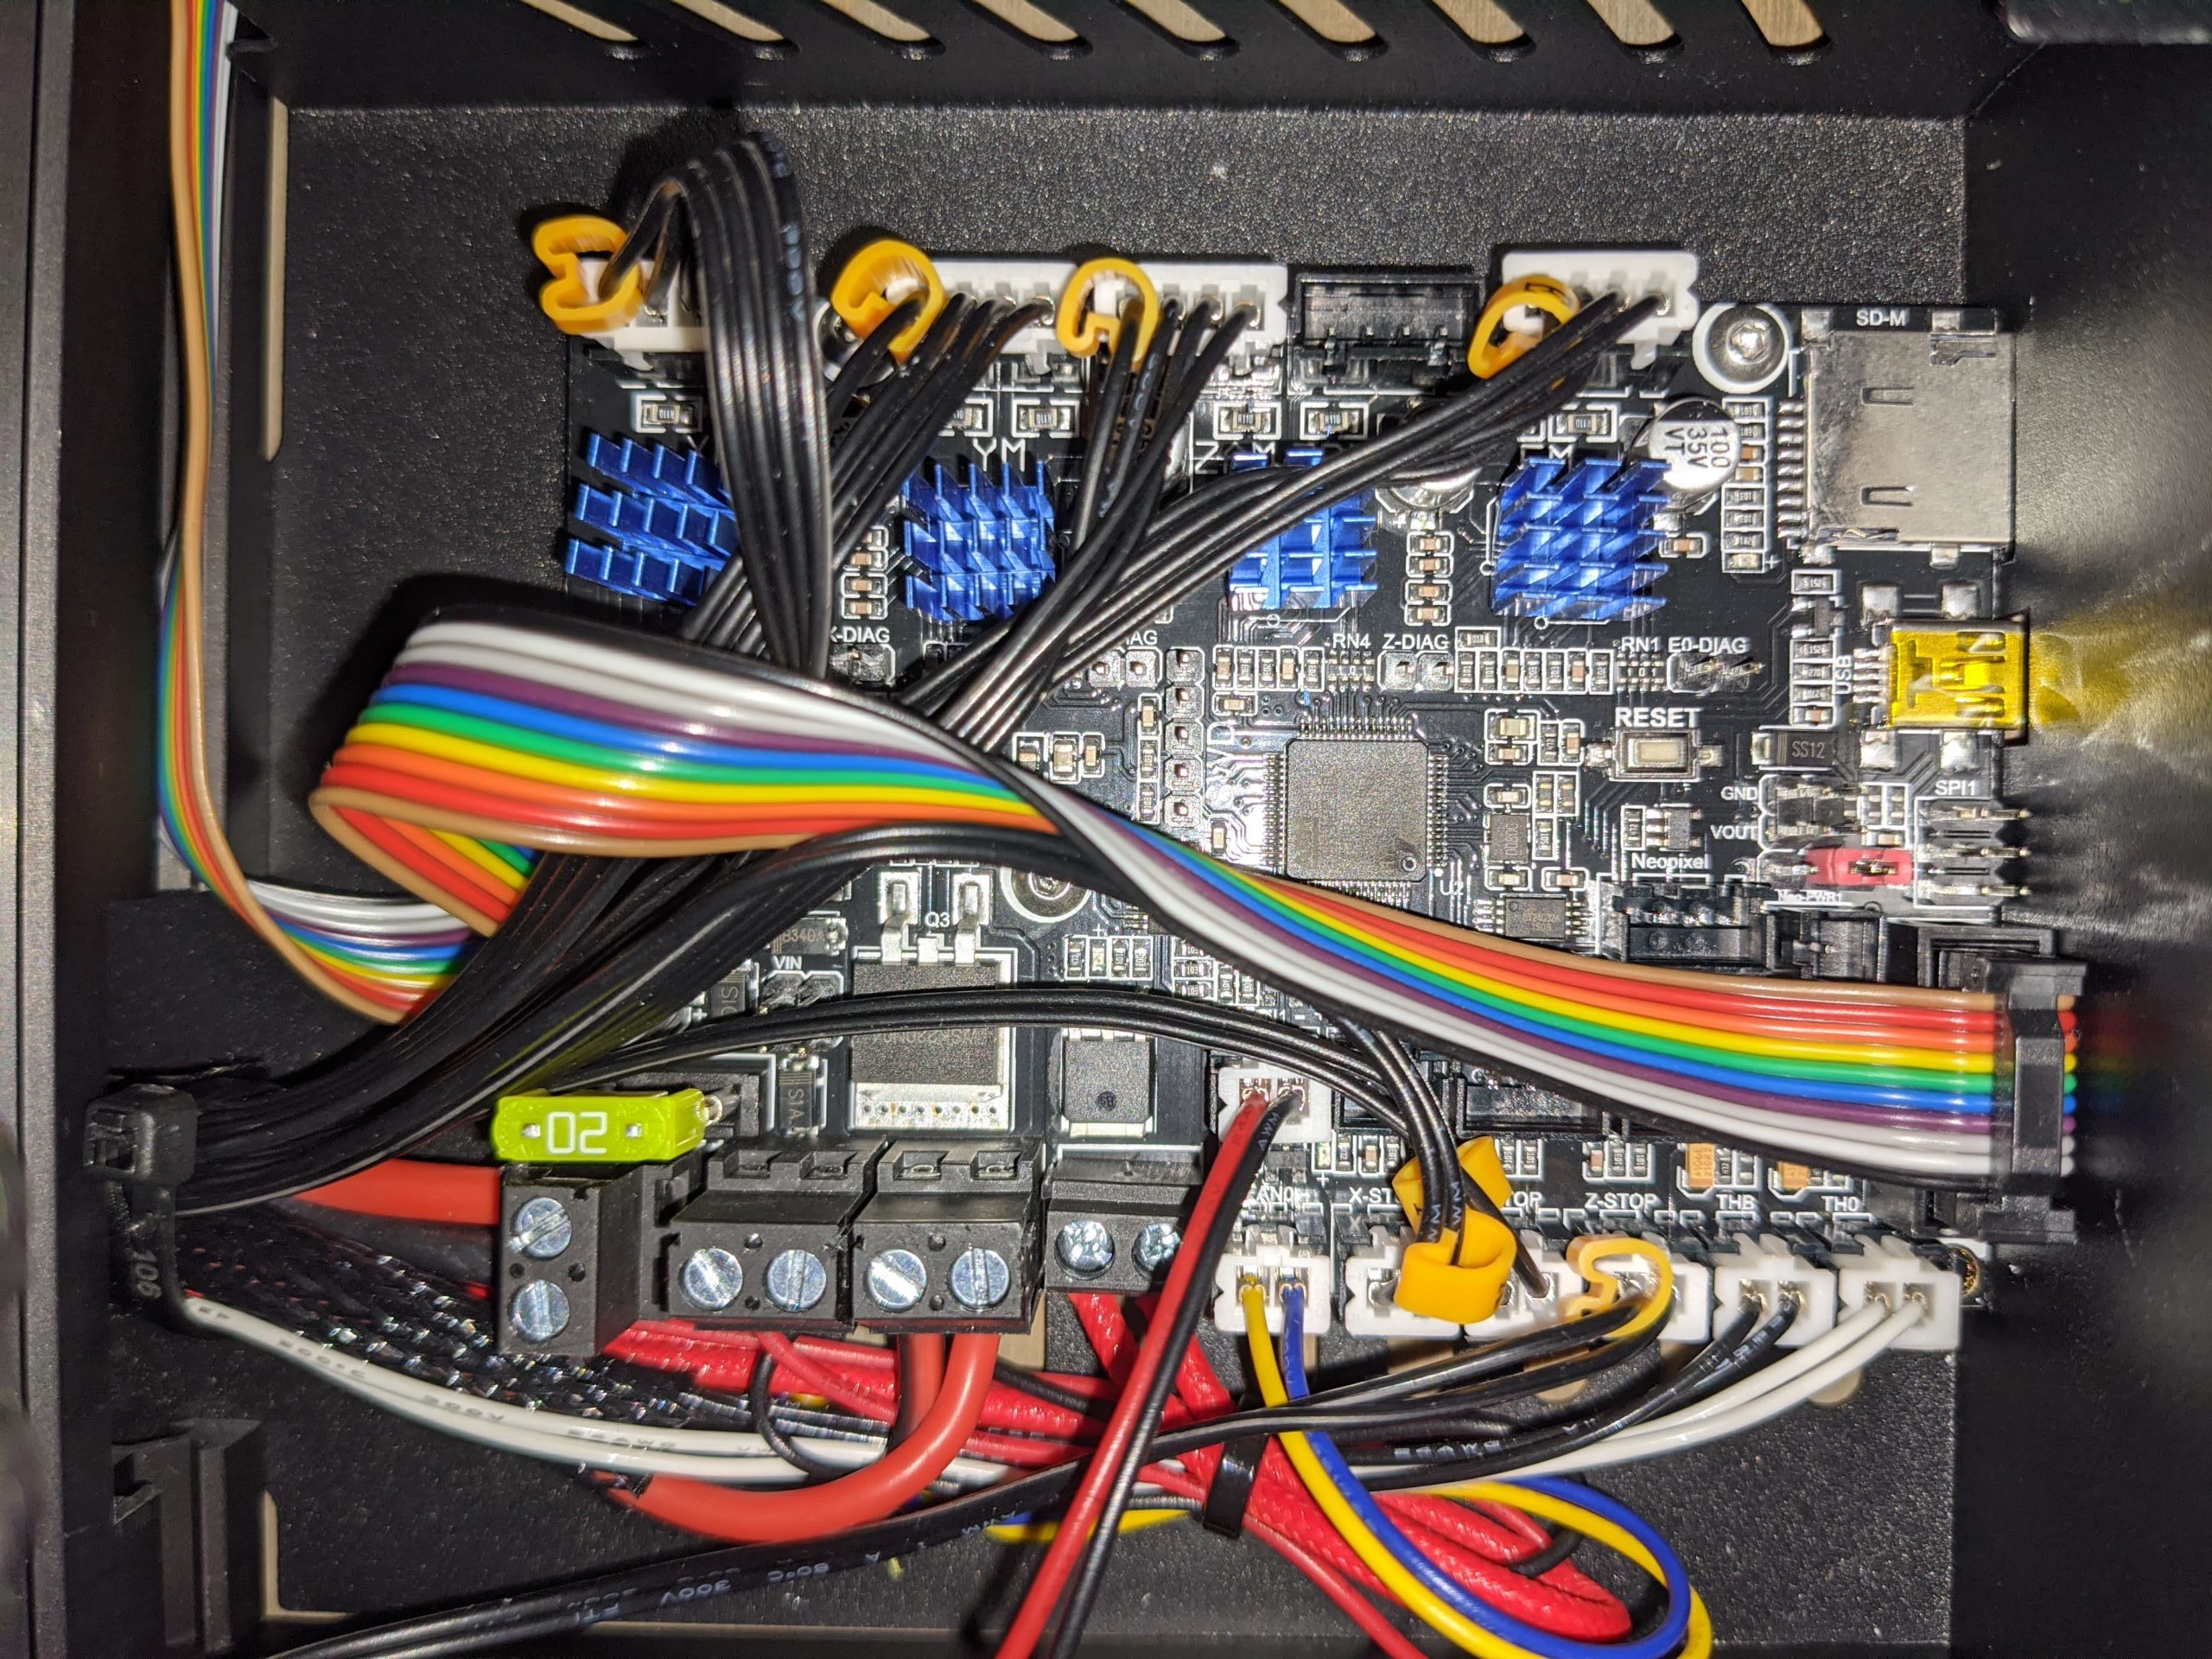
The installation process is quite simple if you go slow, take pictures and label your wiring. The SKR Mini E3 V2.0 board is very similar to the stock Ender 3 board. There is only two wiring changes when making the switch. The CNC fans are switched from the stock board to the SKR Mini. The hot end fan, purple and yellow wires, go from FAN1 to FAN0. Also, the headed bed wires are reversed, negative on the left and positive on the right for the SKR Mini.


Once everything is connected, replace the the fan cover and three screws. Plug in the machine and watch Marlin load. Depending on when you purchased the board, there may be a new Marlin firmware update, as of this article, 2.0.7.2 is the current version. With an onboard EEPROM chip, loading new firmware is easier than ever, no more bootloader required. Simply load the firmware bin file (name it firmware.bin if it is not already) onto an SD card, put it in the machine, turn it on and wait until it loads. The Marlin firmware is available on the BIGTREETECH GitHub page.
Thanks and happy printing!
– MoJee

