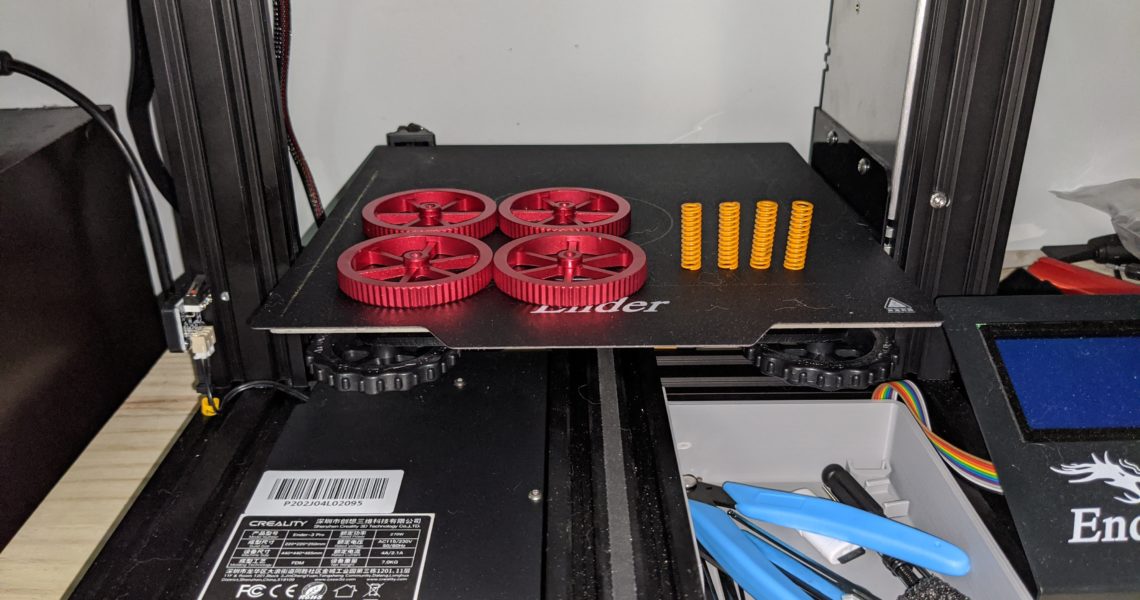
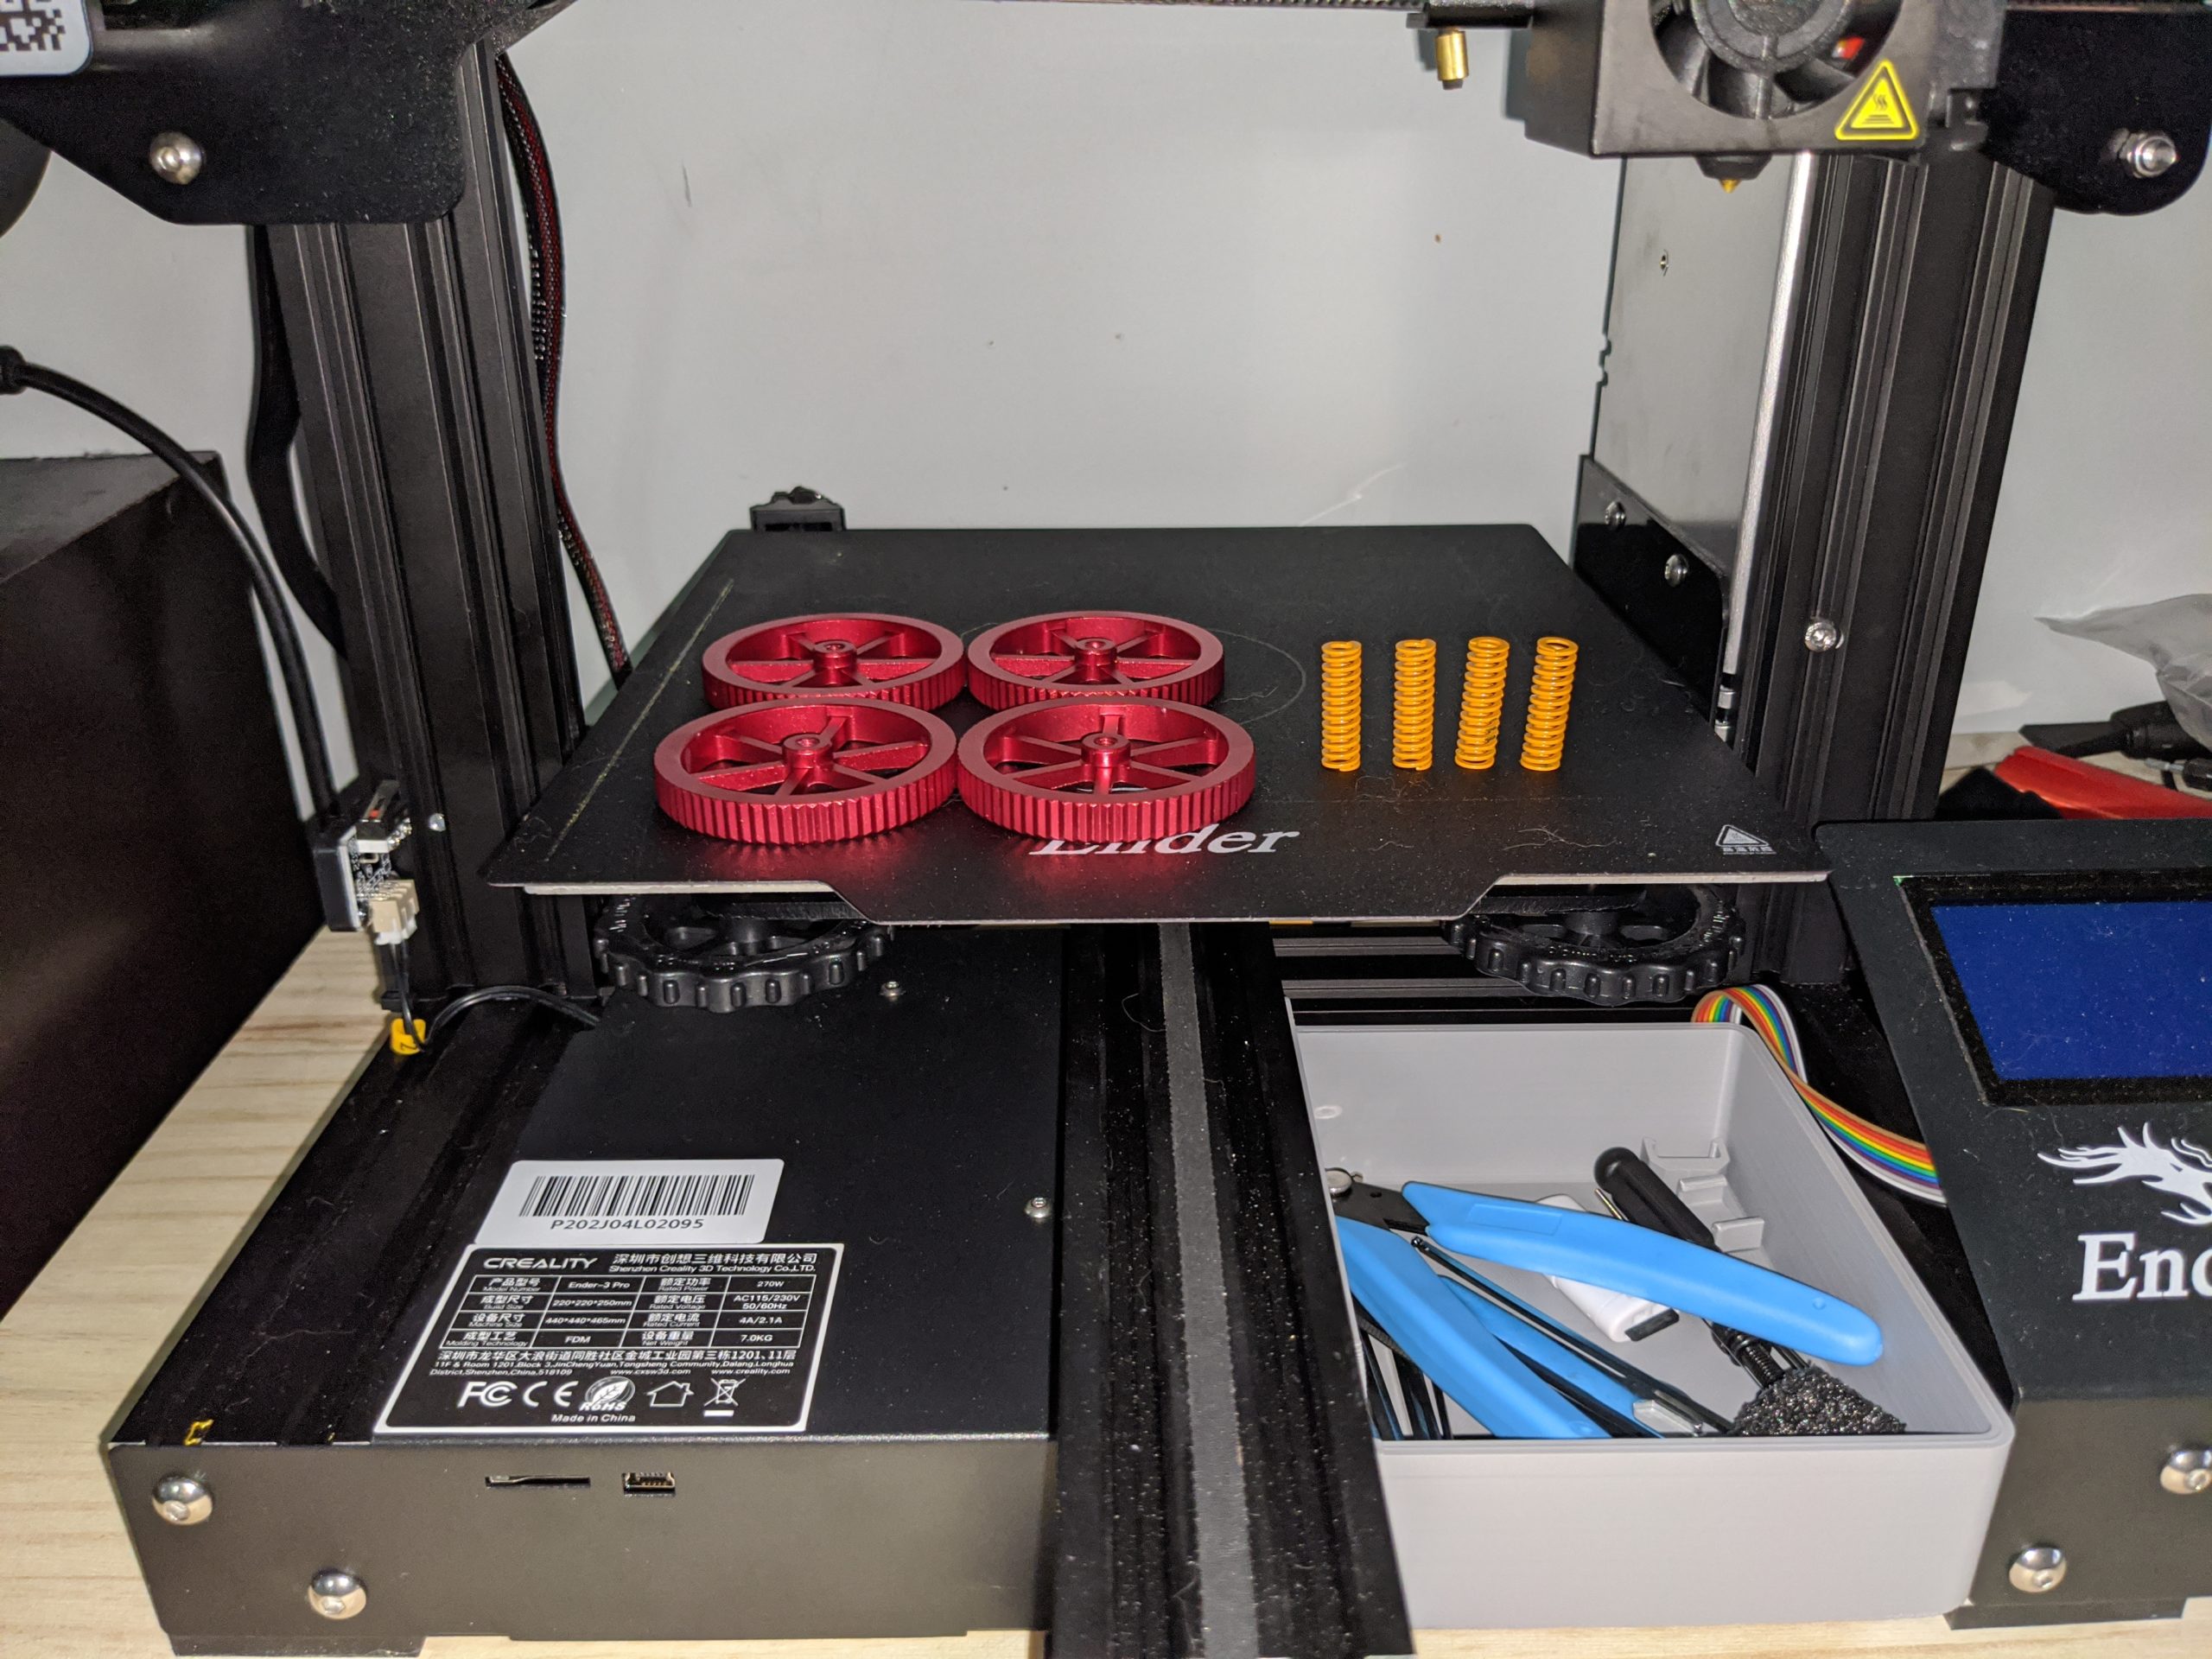
I have had my Ender 3 Pro for over a week now and getting the bed level was fairly easy. Keeping the bed level was a completely different story. The stock springs are very soft and maybe a little short. The stock Z-Stop position requires you to almost lift the bed to the max height of the stock springs. This results in the bed leveling knobs be very, very easy to turn. What I found, is that general movement around the printer, resulted in me accidentally hitting the knobs. This was frustrating because as you all know, that meant re-leveling the bed again because trying to guess which way the knob turned and by how much, to get it back, was impossible. So, my solution was to order some yellow springs, stiffer and a little longer and some aluminum knobs. The aluminum knobs were not necessary but why not, they look good.
I am not going to discuss a ton about how you go about replacing the springs and knobs because as you can suspect, it is very easy. The knobs simply unscrew and will fall right off. You then lift the bed and the springs will come off the bed screws. The back, left spring is a little harder to remove because of the heated bed wire retainer. Some people have cut the zip tie holding the plastic retention around the bed screw and under the spring but I was able to remove the spring without doing this. If you do feel you need to cut the zip tie, just make sure you have one to replace it with. If you remember, the printer was shipped with a few extra so hopefully you kept them.
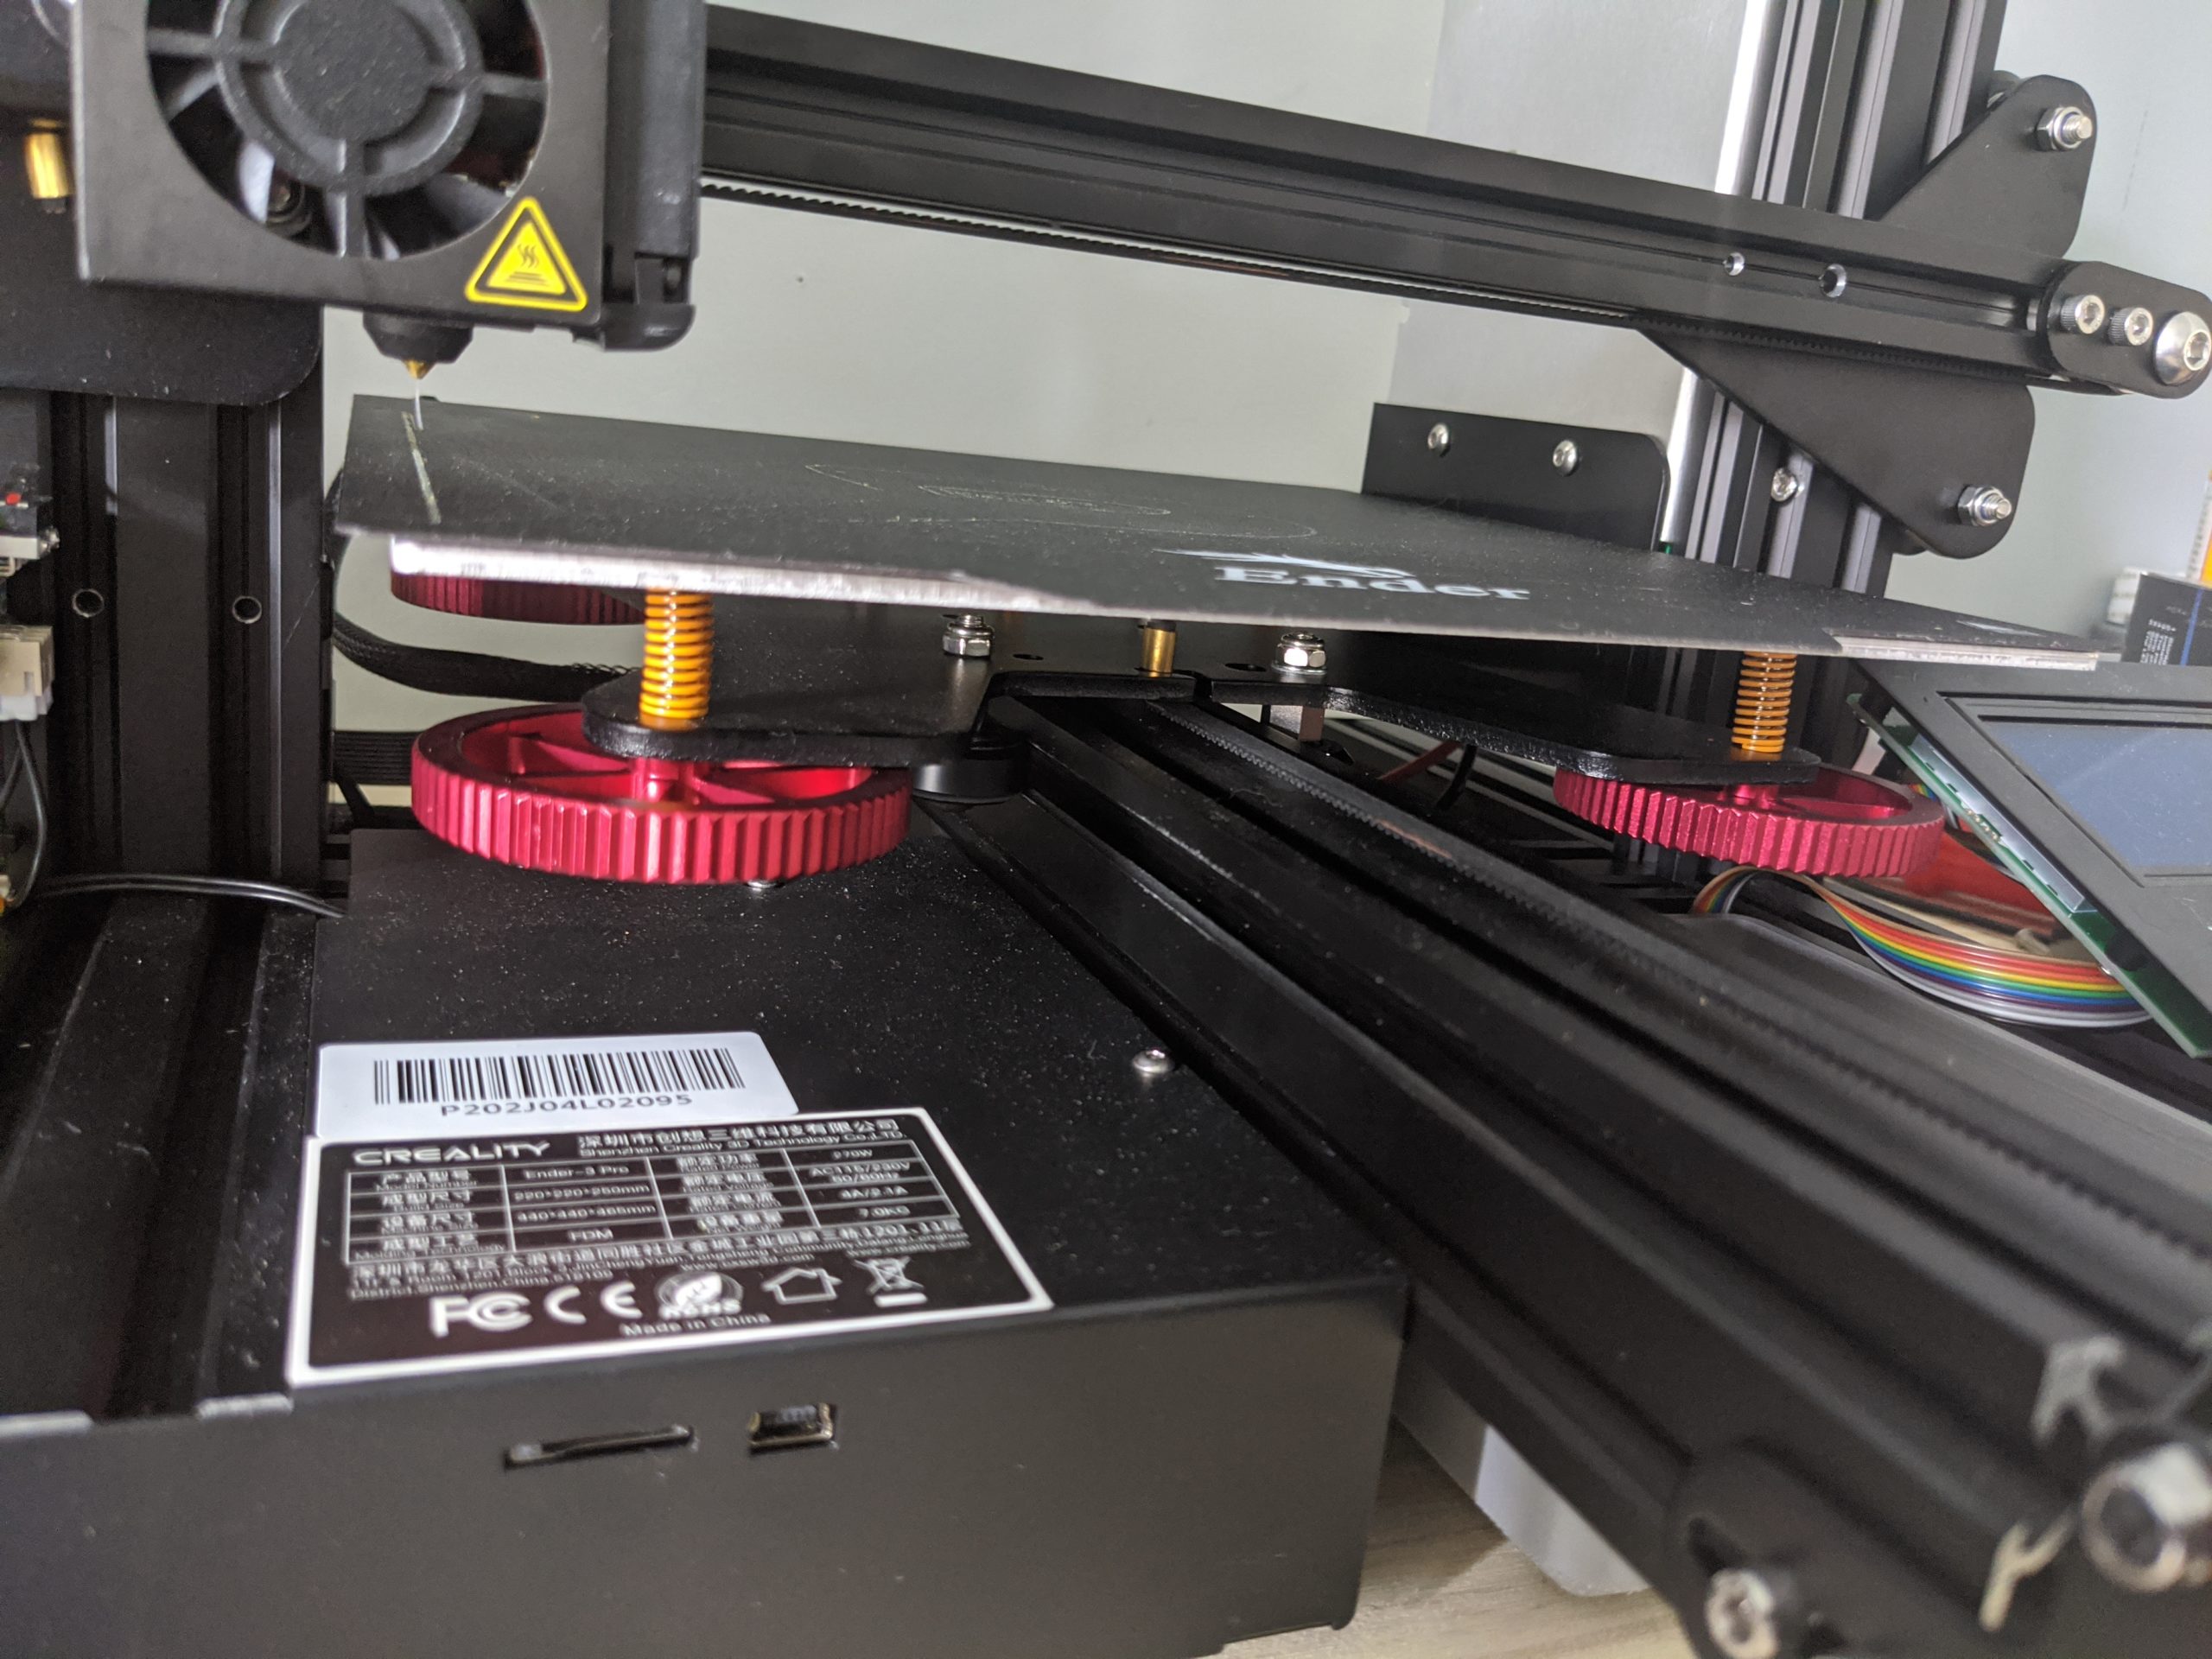
Once you have the new springs in and the knobs started, I suggest tightening the knobs and compressing the springs almost all the way. Leave about 1/32nd of space between each spring coil. Even with the springs compressed this much, the most likely be to high and to close to the nozzel. If you tried to home it, the nozzle would actually be lower than the bed and the fan shroud would hit the bed surface. Before tying this, you will need to adjust the Z-Stop by raising it.

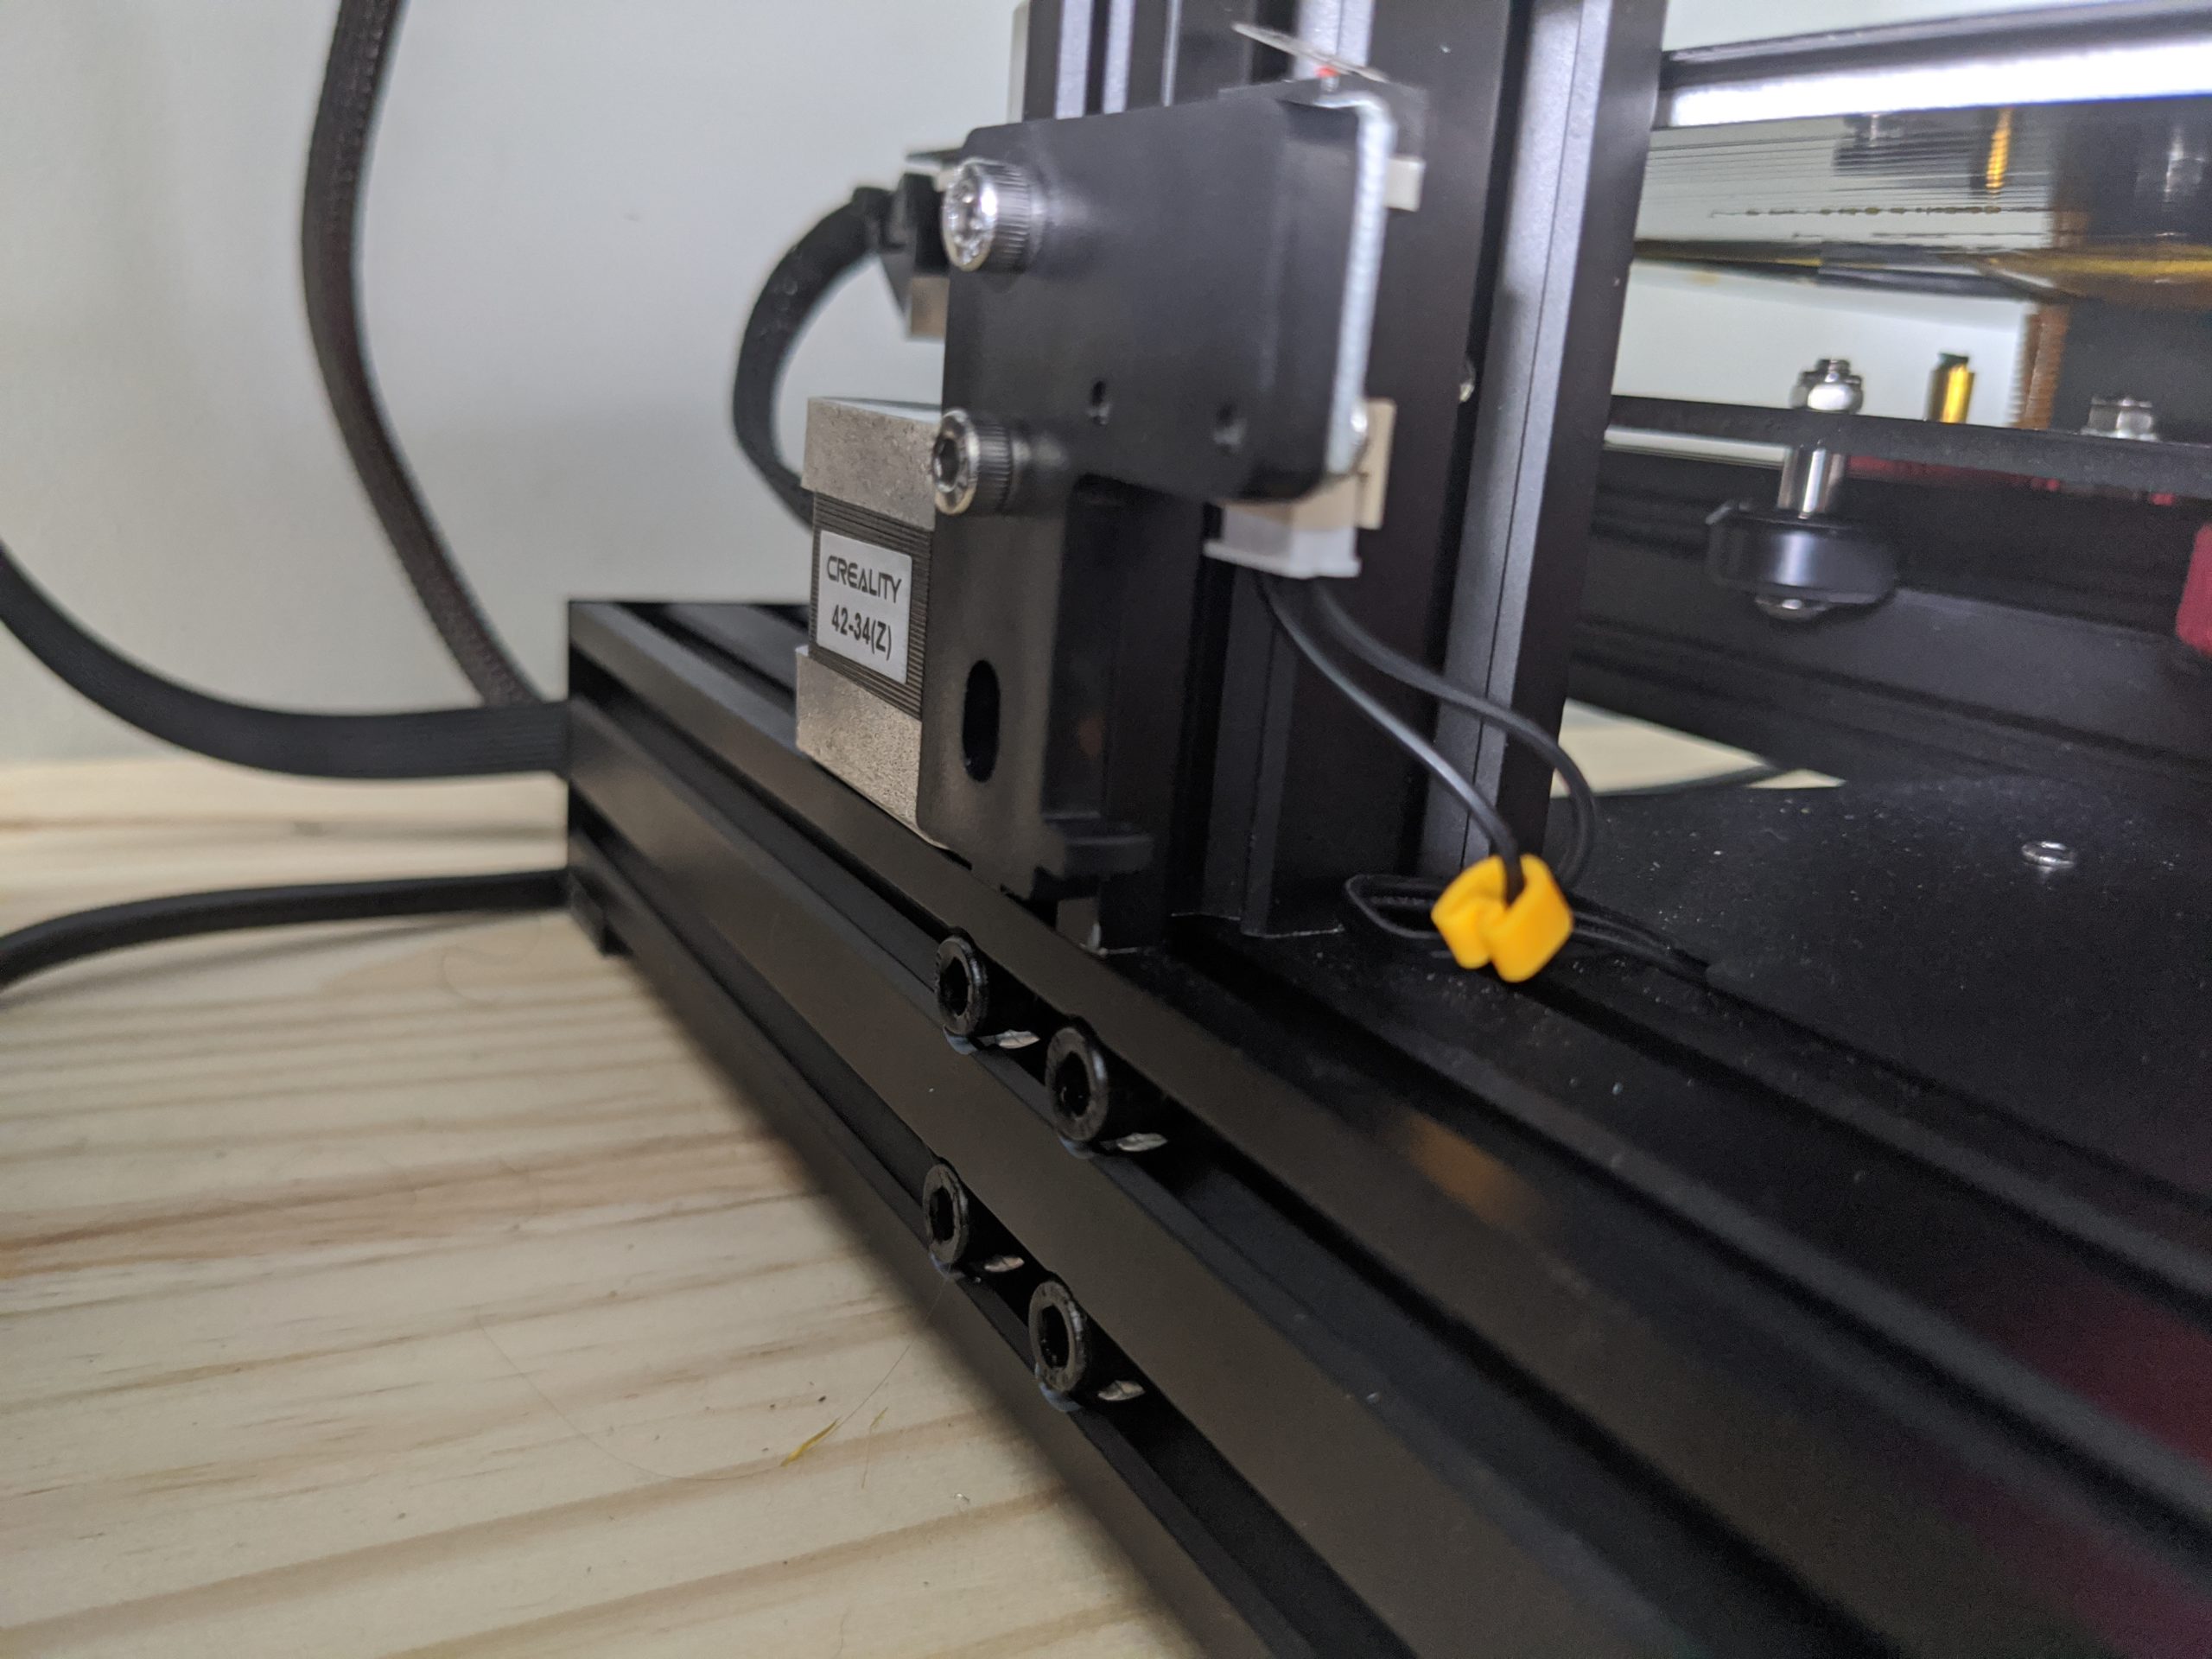
I had to raise mine by about a 1/4″ so that I could properly level the bed. If you disable the stepper motors, and manually set the nozzle height on the bed near the home position, you can then raise the Z-Stop switch until it clicks on the gantry frame that holds the X Axis Stepper Motor. Hold it there and tighten the two screws on the Z-Stop switch. Now you are ready to level the bed. With the yellow springs, the leveling knobs turn much hard which means no accidentally hitting the knobs and throwing the bed out of level. I set the level three days and over 20 prints ago and it is still holding strong.
Now that you don’t have to worry about leveling the bed every other print, have fun and print on!


