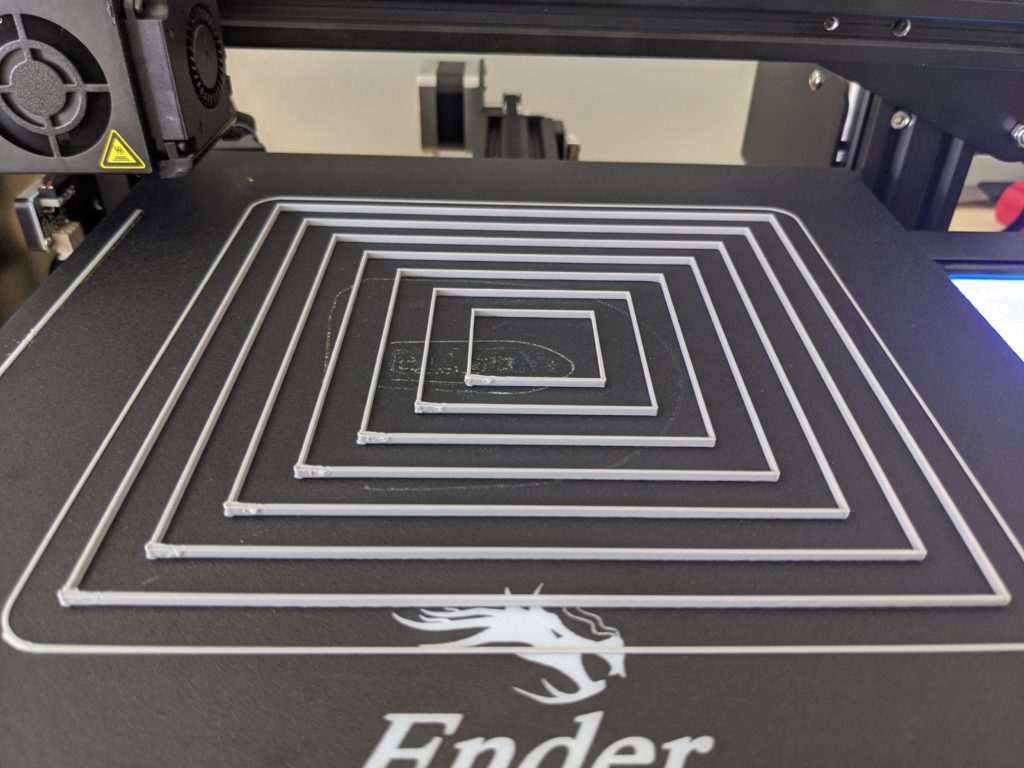
I recently started using Prusaslicer with my Ender 3 Pro. I really like the layout of the software and find it very easy to navigate. I have been used Cura, FlashPrint, MakerBot Print, Repetier, ideaMaker, Slic3r, etc., but I think Prusaslicer is my favorite. Even for a beginner, Prusaslicer is great if left on the Simple option, expanding to Advanced or Expert as needed. After installing my new yellow springs and aluminum knobs on my Ender 3, I leveled the bed with came out perfectly and has lasted. To test this I used a .STL print that I have seen but never tried myself. I went with the version called On the Fly Bed Level Test by jaykoehler on Thingiverse. In terms of bed leveling, the first test print was a huge success. Great first layer and perfect bed adhesion as the test completed successfully.

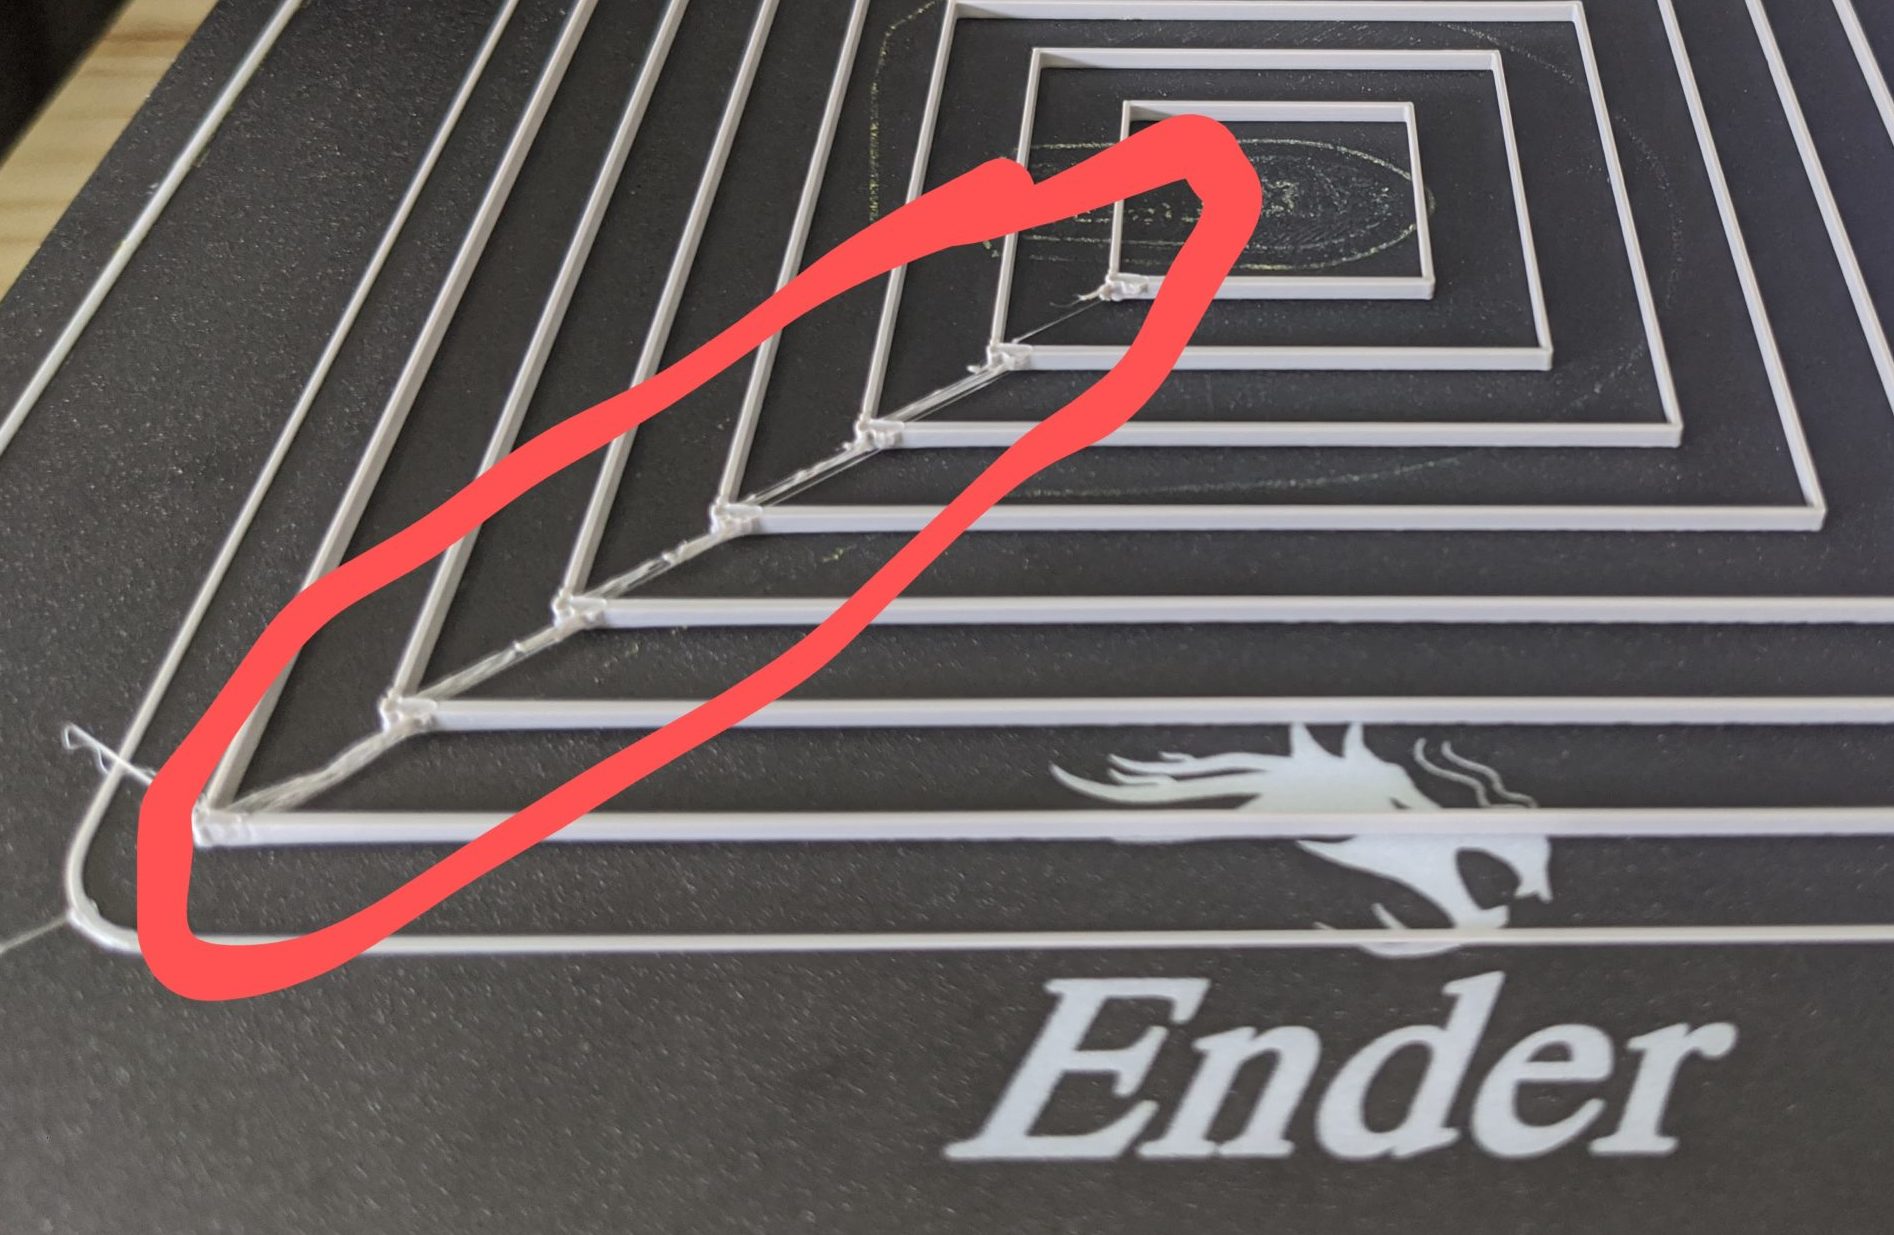
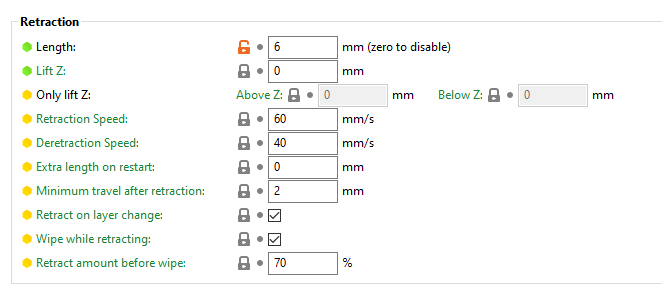
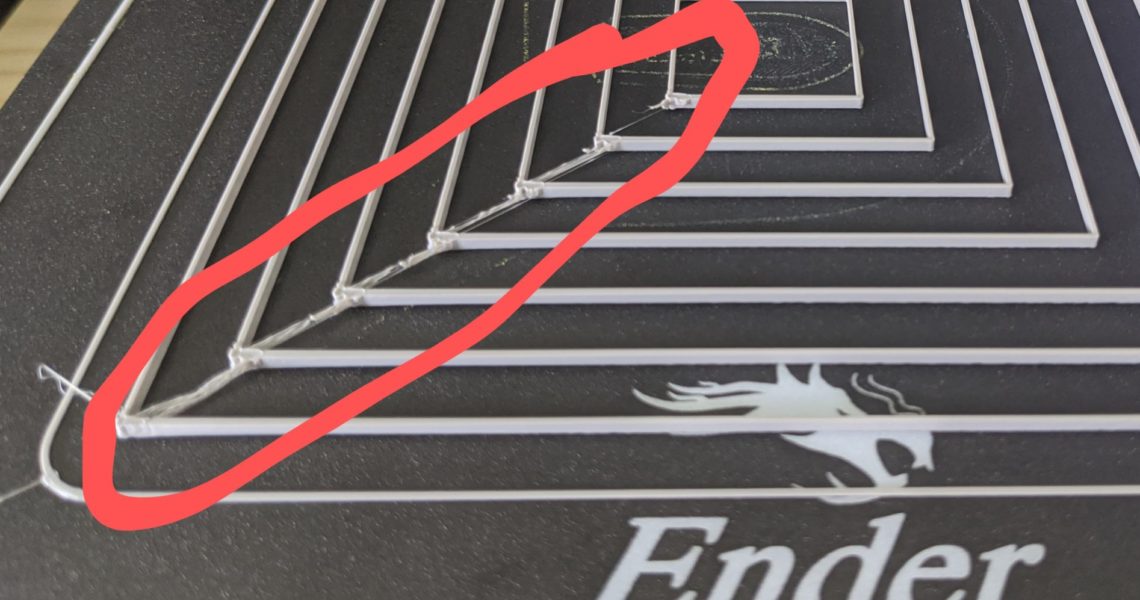
As you can see from the picture above, layers went down good and everything stuck but that stringing! From experience, I knew that my temperature settings with this Hatchbox filament was spot on so I looked at retraction. I am one who favors the practice of 1 change, 1 test so I started with retraction length. I decided to change retraction length from 5mm to 6mm to see what would happen. As you can see, no stringing! Not sure if this was luck or a few years of experience, either way, I’ll take it. There is still some zits/blobs/boogers at the start/stop seam that I need to sort out but that will be for another day.


